Accessibility tools
Loading Guide – Direct Restraint
Loading Guide – Direct Restraint
National
Heavy
Vehicle
Regulator
This guide is part of a series of loading guides that provide tips and tricks to help you understand good load restraint. More detailed information on the principles covered by this guide can be found in the Load Restraint Guide 2025.
What is direct restraint?
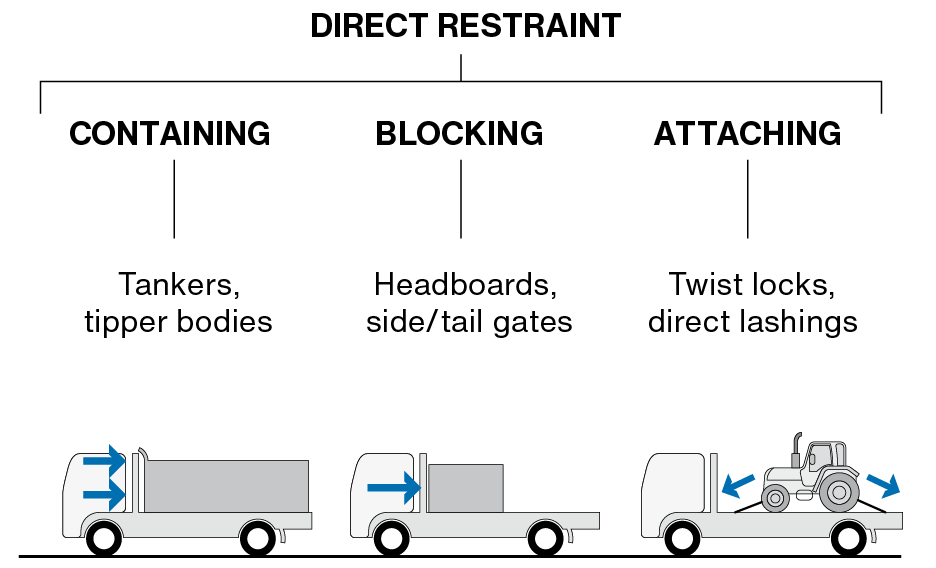
Direct restraint is one of two possible methods to secure a load. Direct restraint controls movement of the load in the forward, backward and sideways directions by using the vehicles body structure, such as bulkheads and walls, or restraint equipment such as chains, straps or twist locks.
This method is particularly useful, and may be essential, where a load has little to no friction with the loading deck. Direct restraint doesn’t rely on friction to keep the load secure, making it a versatile restraint method that works well for slippery loads or loads on wheels.
When to use direct restraint
Direct restraint is often used as part of the load restraint system for some common load types, including:
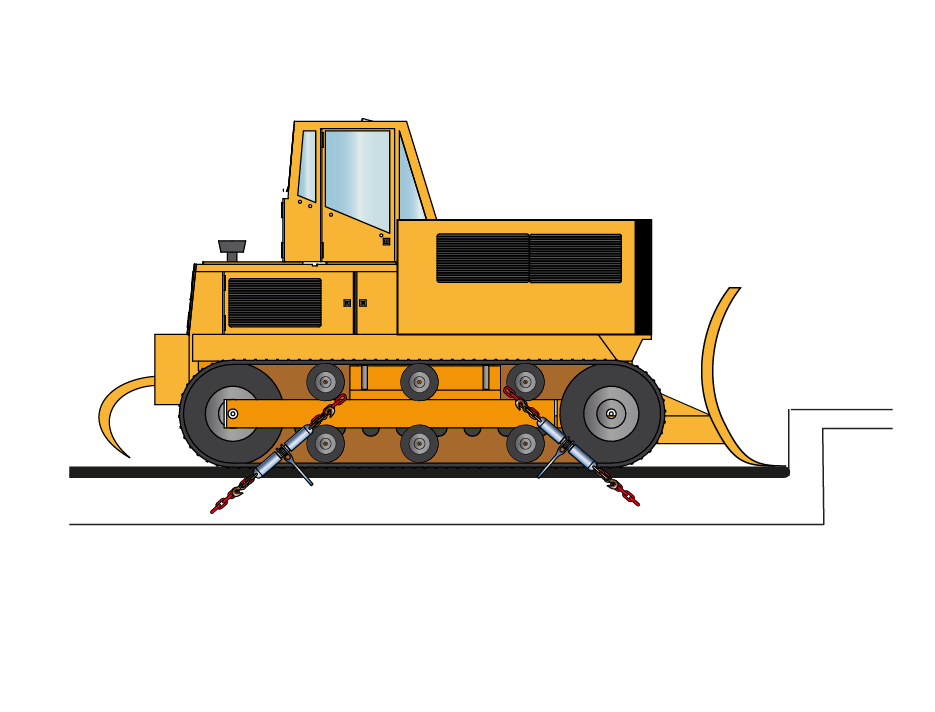
- Large, heavy machinery - Equipment like bulldozers, forklifts or scissor lifts
- Vehicles on wheels - Cars, motorcycles or small mobile plant
- Items with slippery surfaces - Metal sheets or pipes
- Tall, unstable items - Stacked boxes or containers that could topple
- Heavy items with a low centre of gravity - Industrial batteries or generators, concrete barriers etc.
Depending on the load and vehicle type, route and road conditions, direct restraint may require a combination of containing, blocking and attaching.
Containing
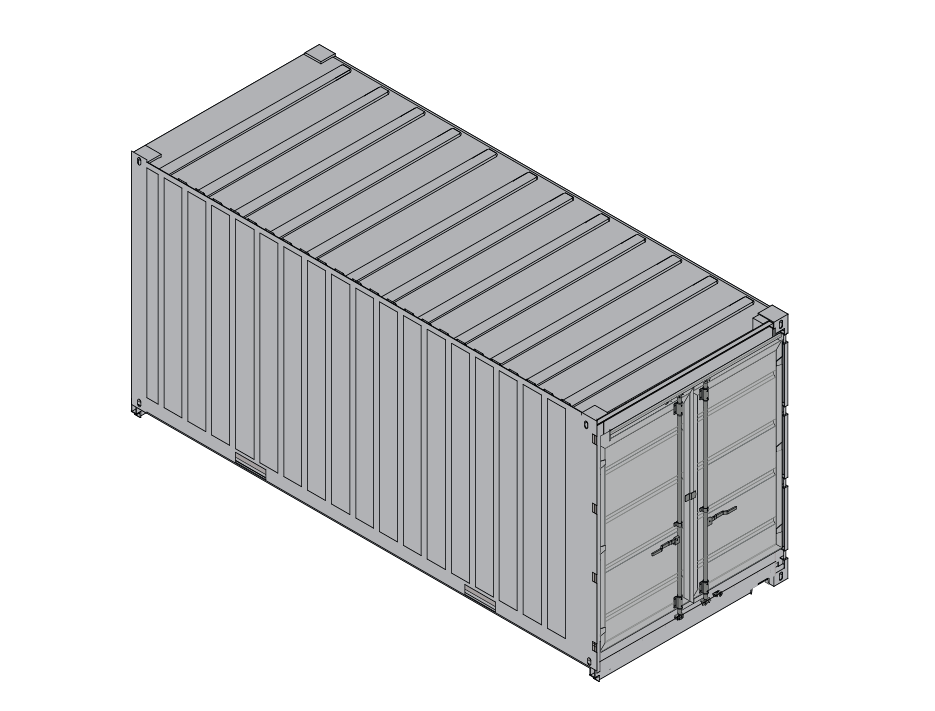
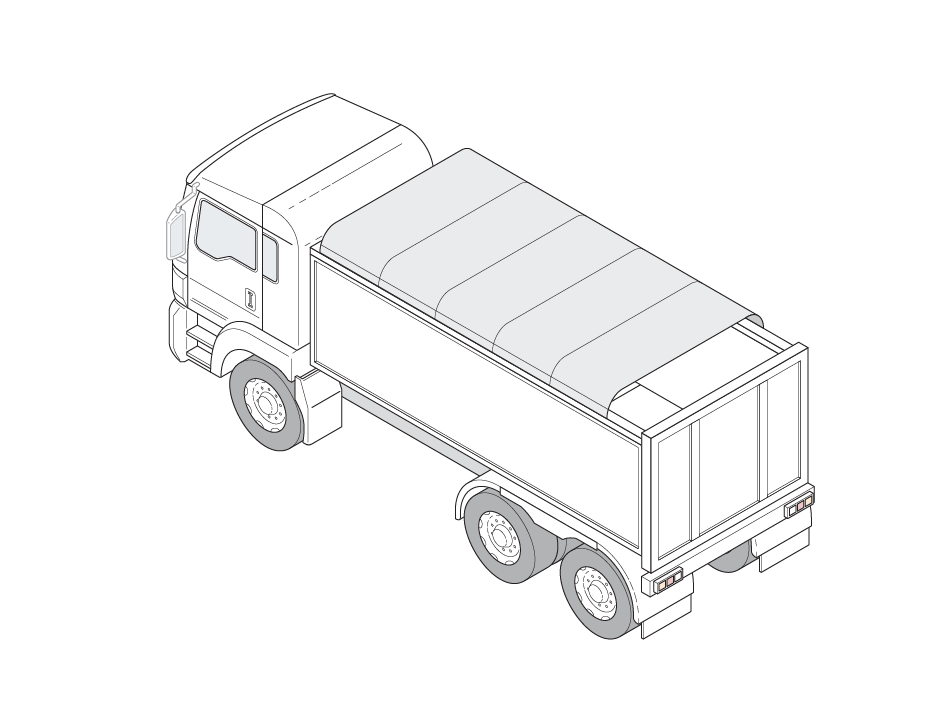
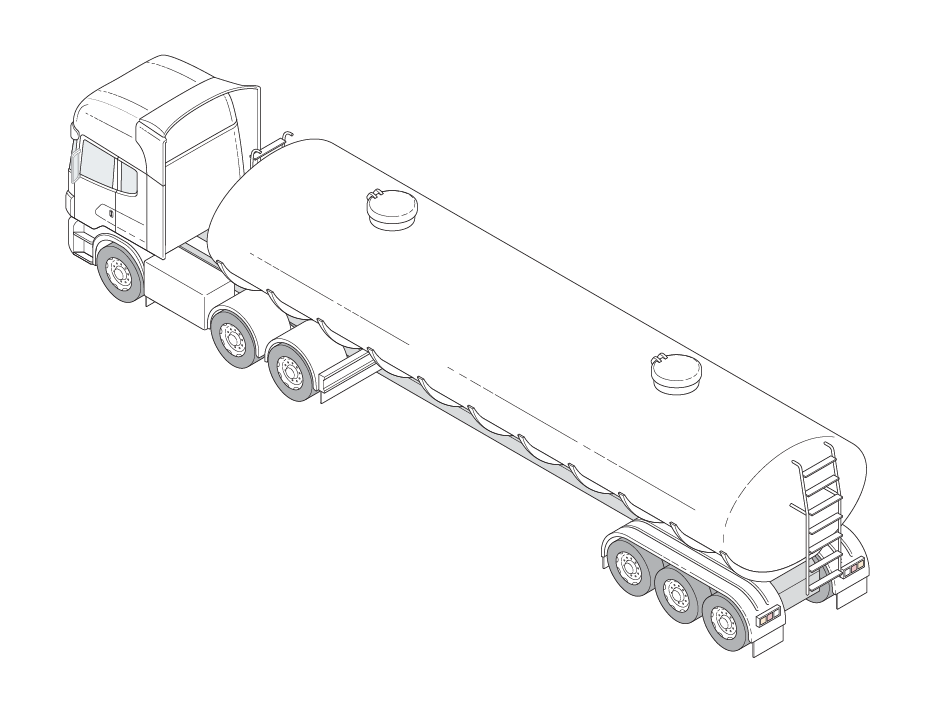
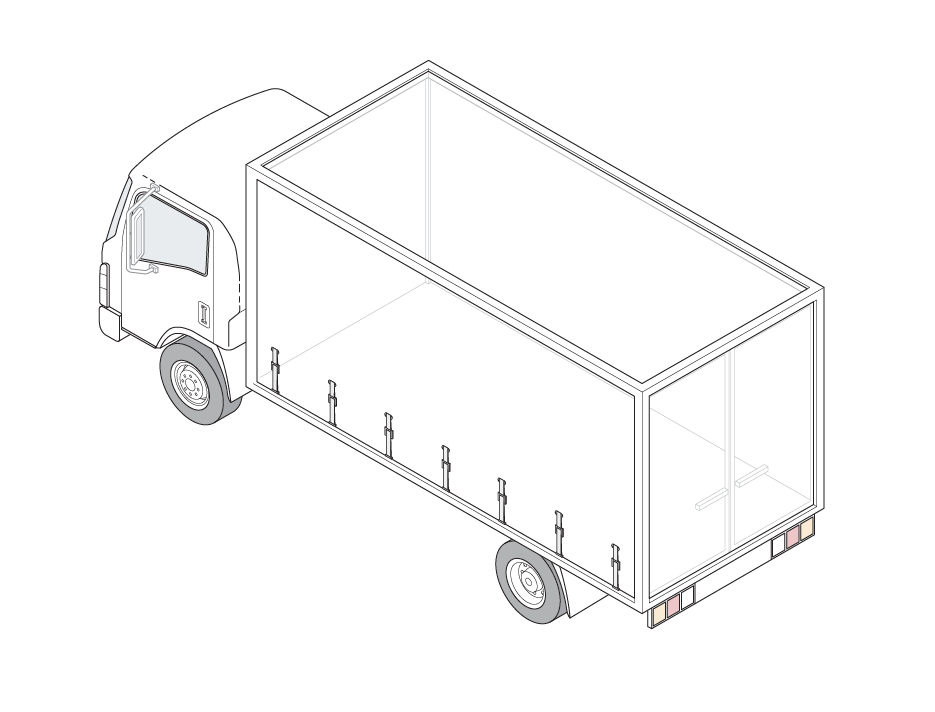
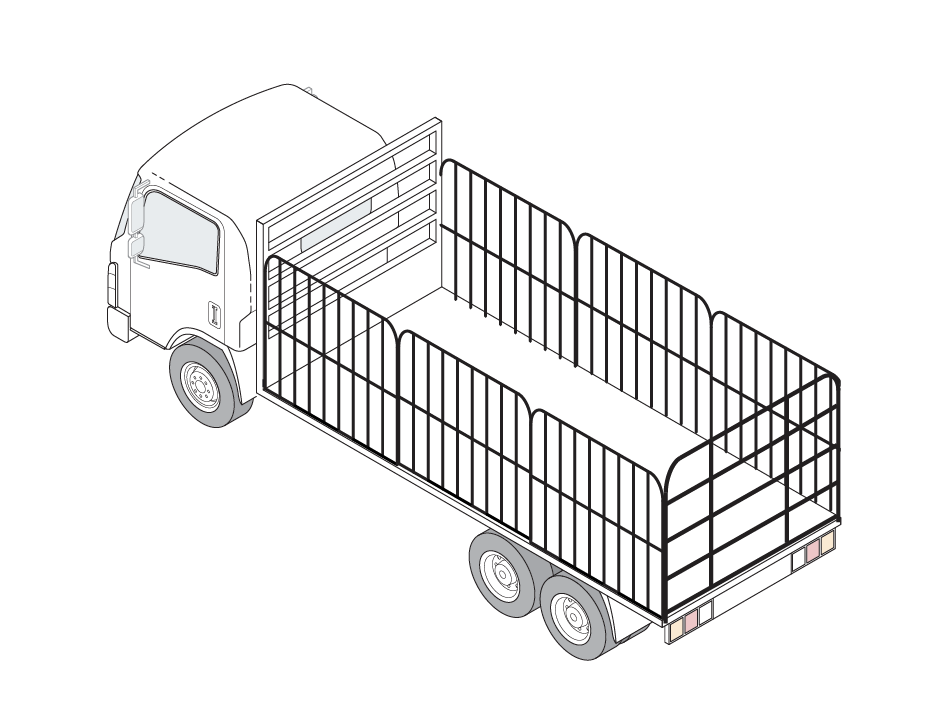
A load can be contained by using the vehicle’s structure, keeping it within the body of the vehicle. For heavy loads, this means the load is fully blocked in all directions to keep it securely in place. Examples of how a contained load might be transported include:
- Containers
- Tippers
- Tankers
- Rated curtain-sided vehicles
- Flat-top vehicles with rated headboard/tailboards and gates.
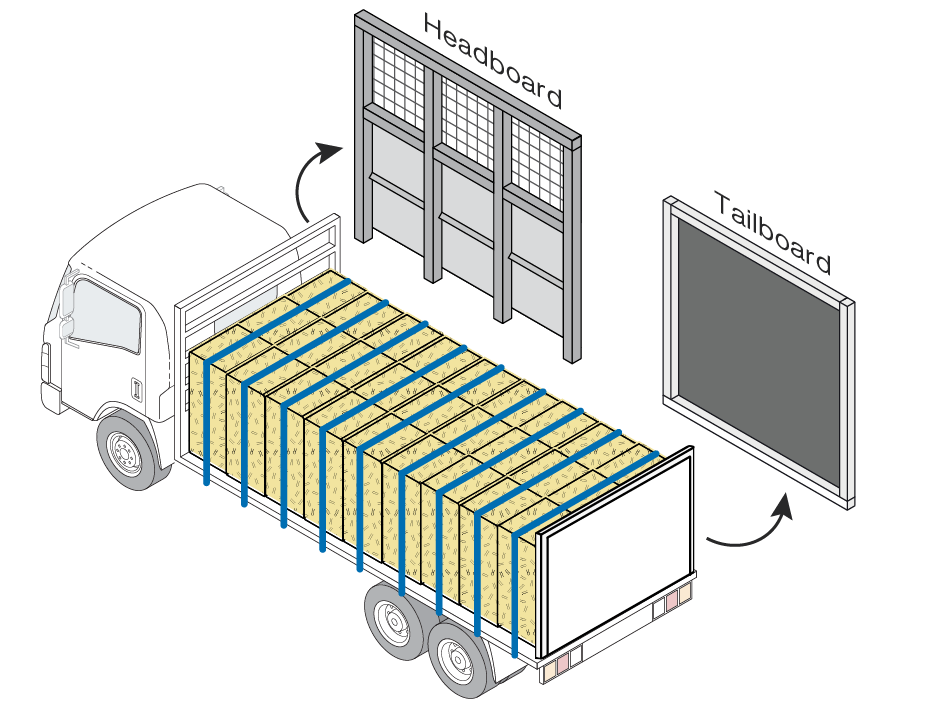
Blocking
A load can be blocked against vehicle structures or attachments, such as headboards or side/tail gates, to prevent movement in the forward, rearward and sideways directions. Any headboard or other attachments used to contain a load should be strong enough to withstand the forces that may be experienced under normal driving conditions or a minor collision. Using rated or reinforced headboards/gates is considered good practice. If there is no rating stated or supporting documentation provided for the headboard/gates, it is assumed to be unrated, and the load should be considered unblocked.
More information can be found in Loading Guide - Blocking.
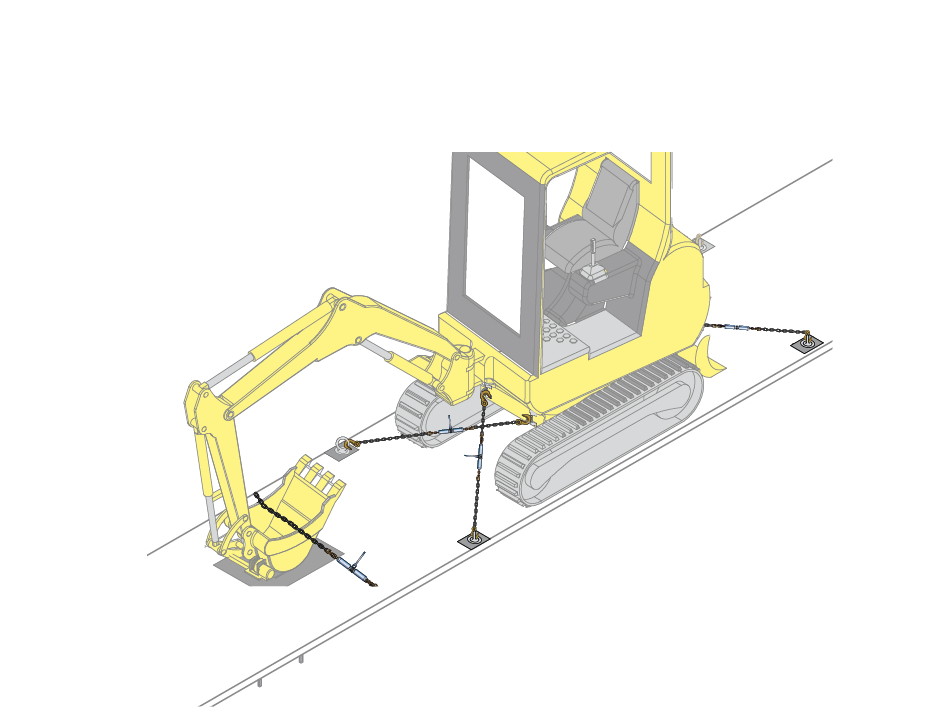
Attaching
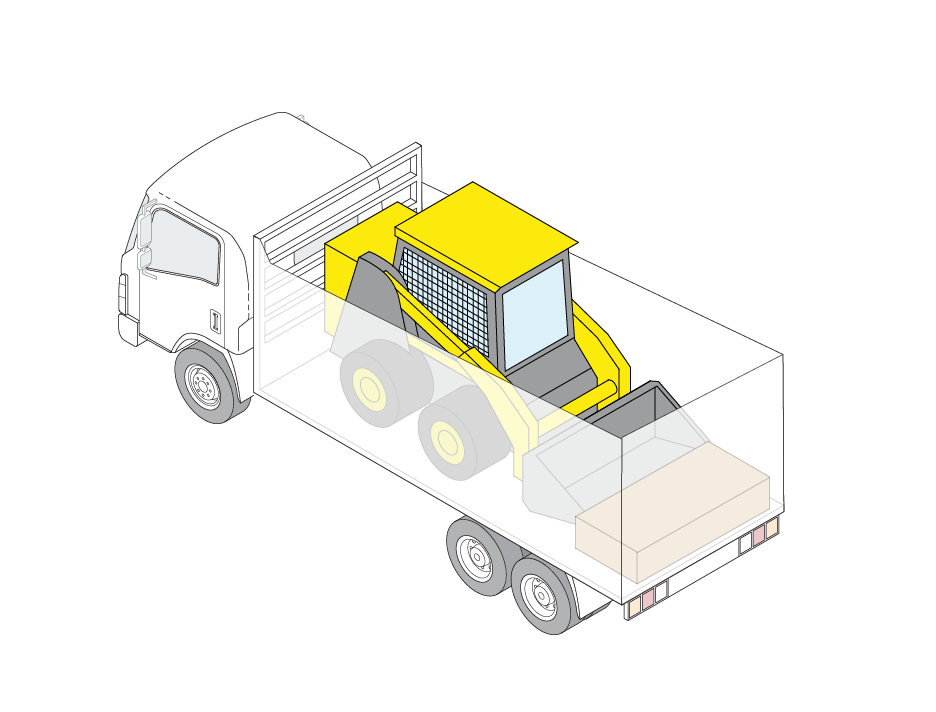
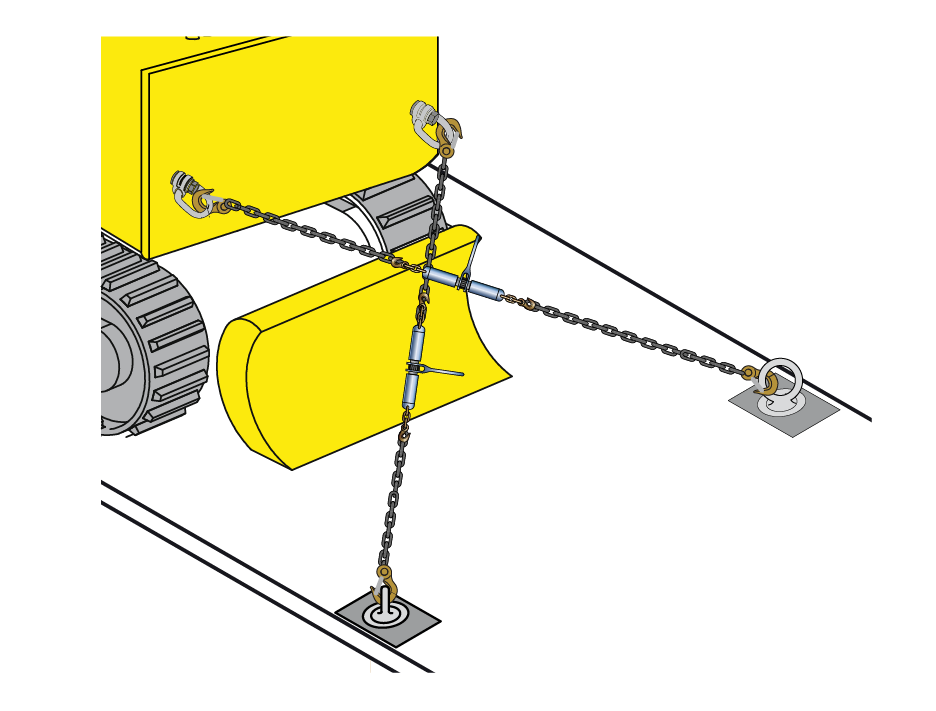
A load can be directly attached onto a vehicle structure using lashings. This method is commonly used for items like bulldozers, plant equipment, or other loads with low friction. The lashing capacity needs to be sufficient to restrain the weight of the load in the forward, rearward and sideways directions. The angle of the lashings should also be considered when designing a load restraint system, as it affects the system’s ability to meet the performance standards and secure the load effectively.
Front
Rear
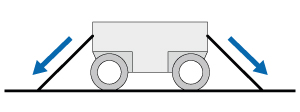
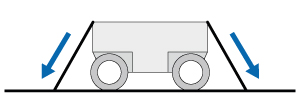
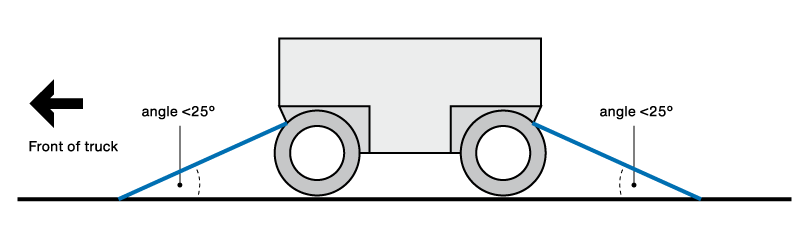
Direct restraint using simple rule
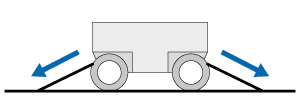
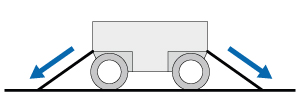
To use this simple rule, make sure each direct lashing is angled less than 25° from the vehicle’s loading deck. Use lashings of the same type, similar lengths, and angled at 45° in the main directions of movement. If the lashing angles are any steeper, choose a different method.
Note: Additional information on the simple rule can be found on page 219 of the Load Restraint Guide. This rule is based on assumptions and is less accurate.
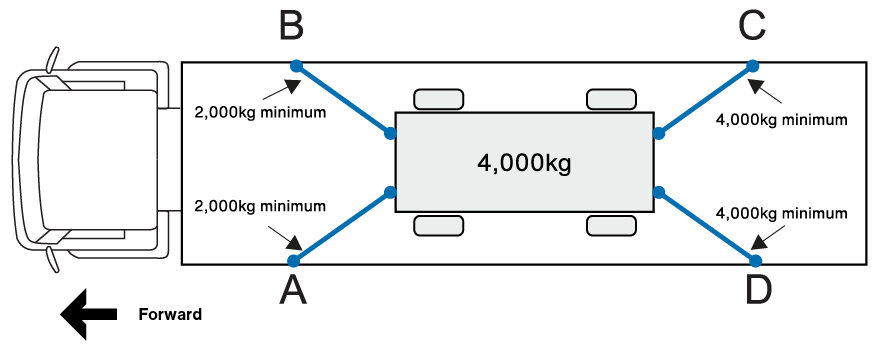
Select lashings where the combined lashing capacity is:
In the forward direction = twice the weight of the load
- Lashings C + D prevent forward movement
- Each lashing (C and D) has a capacity that is equal to or greater than the weight of the load (4,000kg minimum each)
In the sideways direction = the weight of the load
- Lashings A + D and B + C prevent sideways movement
- Each lashing (A, D, B and C) has a capacity that is equal to or greater than half the weight of the load (2,000kg minimum each)
In the rearward direction = the weight of the load
- Lashings A + B prevent rearward movement
- Each lashing (A and B) has a capacity that is equal to or greater than half the weight of the load (2,000kg minimum each).
| Example | Approximate angle | Direct lashing angle effect | Direct lashing effectiveness |
|---|---|---|---|
 |
25° | 0.90 | 90% |
 |
30° | 0.86 | 86% |
 |
45° | 0.70 | 70% |
 |
60° | 0.50 | 50% |
Case studies
In the Load Restraint Guide, case studies 6 and 7 provide step-by-step worked examples that use calculations to determine how many lashings are needed to secure a load. These examples explain how to calculate the number of lashings based on the total weight of the load, ensuring safe and effective direct restraint.
- Case Study 6: Direct restraint using calculations
- Case Study 7: Direct restraint using calculations or load tables
Tips
- Keep lashing angles low, ideally around 25° from the vehicle’s loading deck. Steeper angles reduce horizontal restraint effectiveness and may require stronger or additional lashings. More information can be found in the Loading Guide - Lashing Angle.
- Depending on the load type and transport conditions, combine containing, blocking and attaching techniques for secure restraint.
- Remember to check that your lashings have enough capacity to secure the load in all directions – forward, sideways and rearwards. Use the Load Restraint Guide for detailed calculations.
- Check for the manufacturer’s loading and restraint recommendations and for any lashing points fitted to the vehicle/equipment by the manufacturer. Do not use lifting points for restraint – they are not designed for this purpose.